Stretch Tents
What Stretch Tent Size Is Suitable For My Outdoor Event?
Dec 28, 20255 mins read
Read MoreEverything you need to know before renting a stretch tent, from sizing and anchoring to weather considerations, permits, and working with your supplier.
Renting a stretch tent for the first time can feel overwhelming. There are sizes, anchoring systems, permits, weather ratings, and supplier terms to navigate before you even get to the fun parts. This guide cuts through the noise and gives you the practical knowledge you need to rent with confidence and avoid the most common pitfalls.
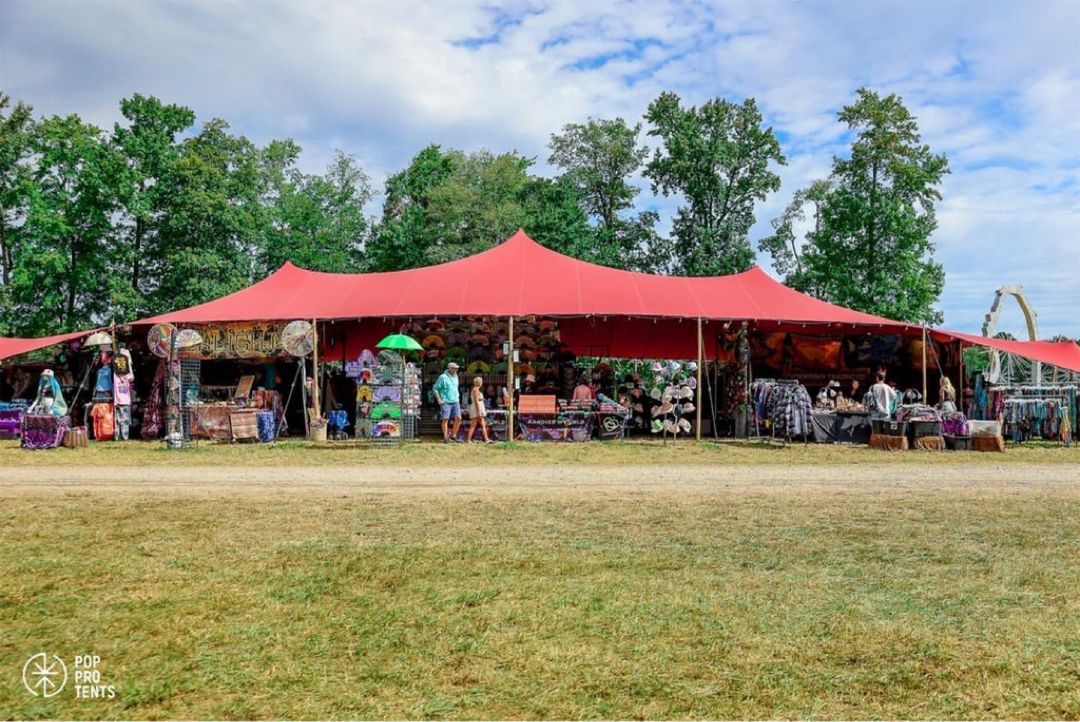
Before diving into the rental process, it helps to understand what makes stretch tents unique. Unlike traditional frame marquees or pole tents, stretch tents are made from high-tensile PVC fabric that flexes and contours to the landscape. They can be pitched on uneven ground, around trees, against buildings, and in irregular shapes that rigid structures simply can't accommodate.
They're also significantly faster to install and break down, which matters for venues with tight hire windows. And aesthetically, the organic curves and variety of colour options give stretch tents a look that's become synonymous with premium outdoor events.
Fast Setup
4–8 hrs for large tents
Full Colour Range
White, natural, charcoal + more
Any Terrain
Grass, concrete, slopes, decking
These are the factors our team walks through with every new client. Go through each one carefully before signing a rental agreement.
Before anything else, nail down your guest count and event layout. Seated dining needs roughly 1.8–2.2 m² per person; standing cocktail events around 0.7–1 m². Always build in a 15–20% buffer for staging, bars, and walkways.
Peak season (October–April for warmer climates) sees high demand. Booking 8–12 weeks ahead gives you more tent size and colour options and ensures the supplier can plan logistics around your venue.
Photos and Google Maps are a starting point, but a proper on-site assessment by your supplier is essential. Slopes, overhead cables, underground pipes, and access road widths all affect installation feasibility.
On grass or soft ground, steel stakes are standard. On concrete, paving, or wooden decking, weighted ballast systems or structural fixing brackets are used. Confirm surface type with your supplier early, as anchoring affects the whole setup plan.
Stretch tents are engineered to flex in wind rather than resist it, but they do have limits. Ask your supplier for the wind load rating of your specific tent and ensure the anchoring plan matches the expected weather conditions.
Many councils and venues require a temporary structure permit for tents above a certain size. In some areas, a structural engineer's sign-off is needed. Your supplier should guide you through this, but ultimately the responsibility rests with the event organiser.
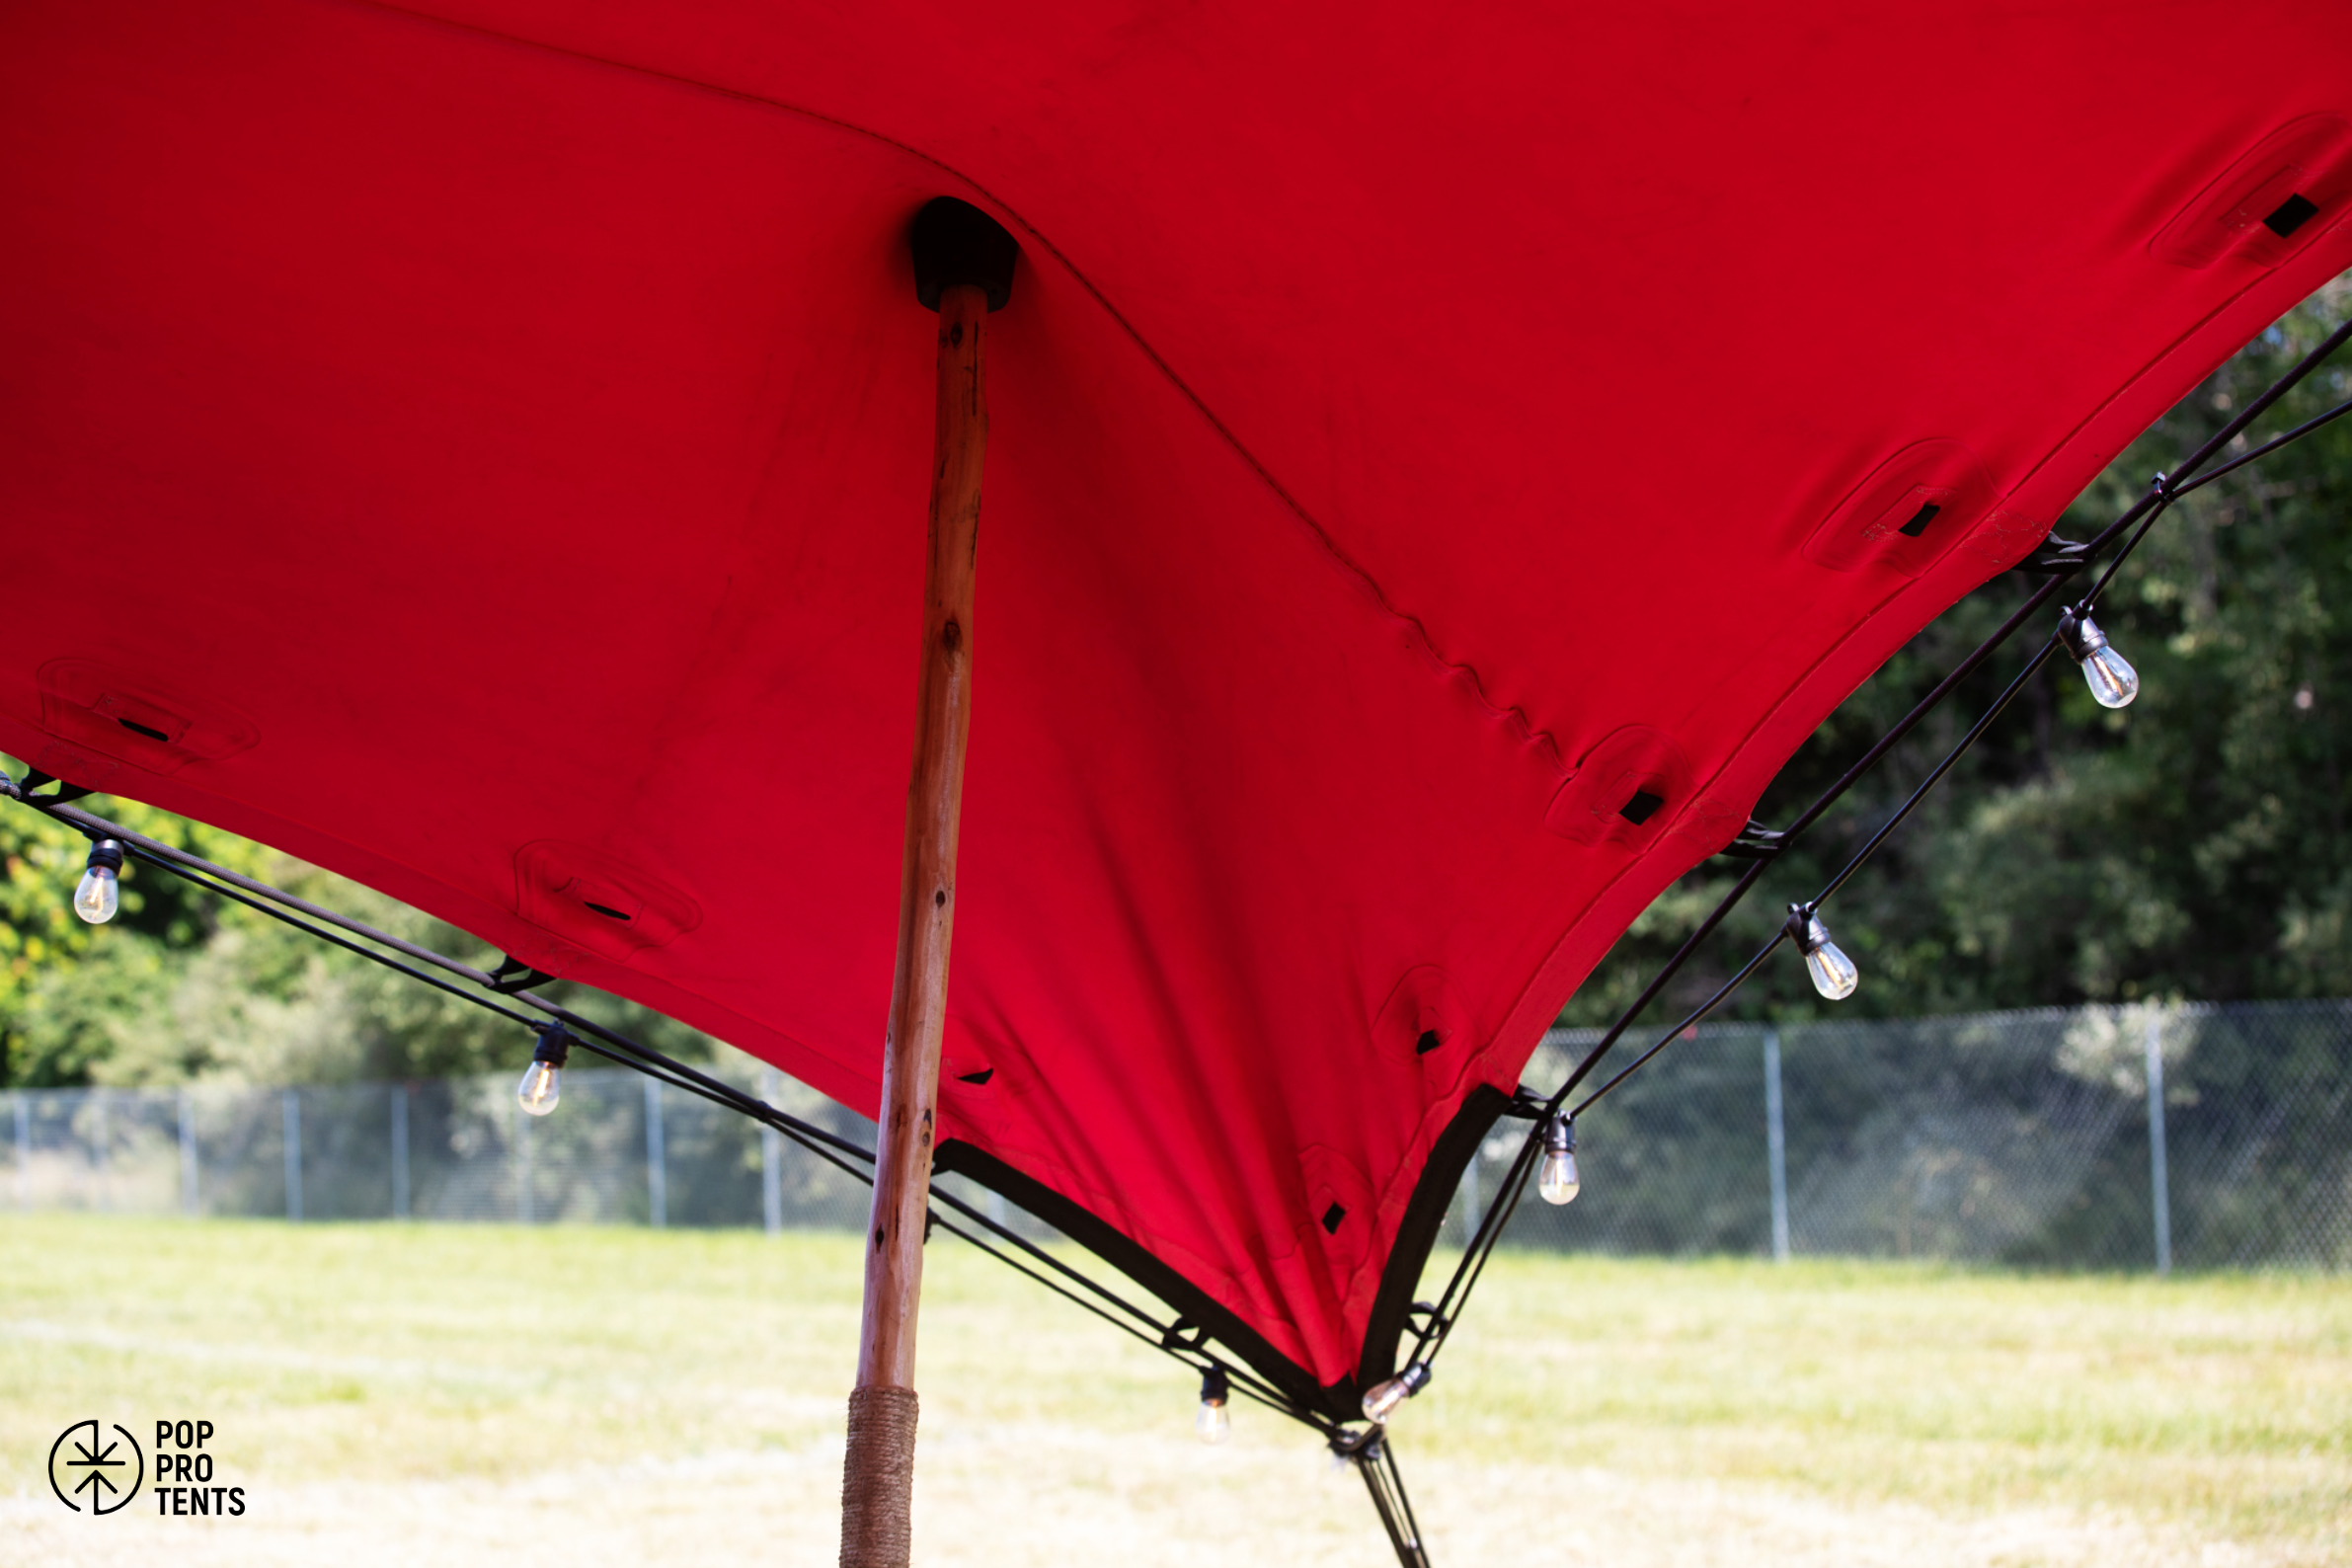
Stretch tents don't come with built-in wiring. Plan your lighting rig, generator placement, and cable routing before the install day. Festoon lights, LED uplights, and suspended chandeliers all require rigging points inside the tent structure.
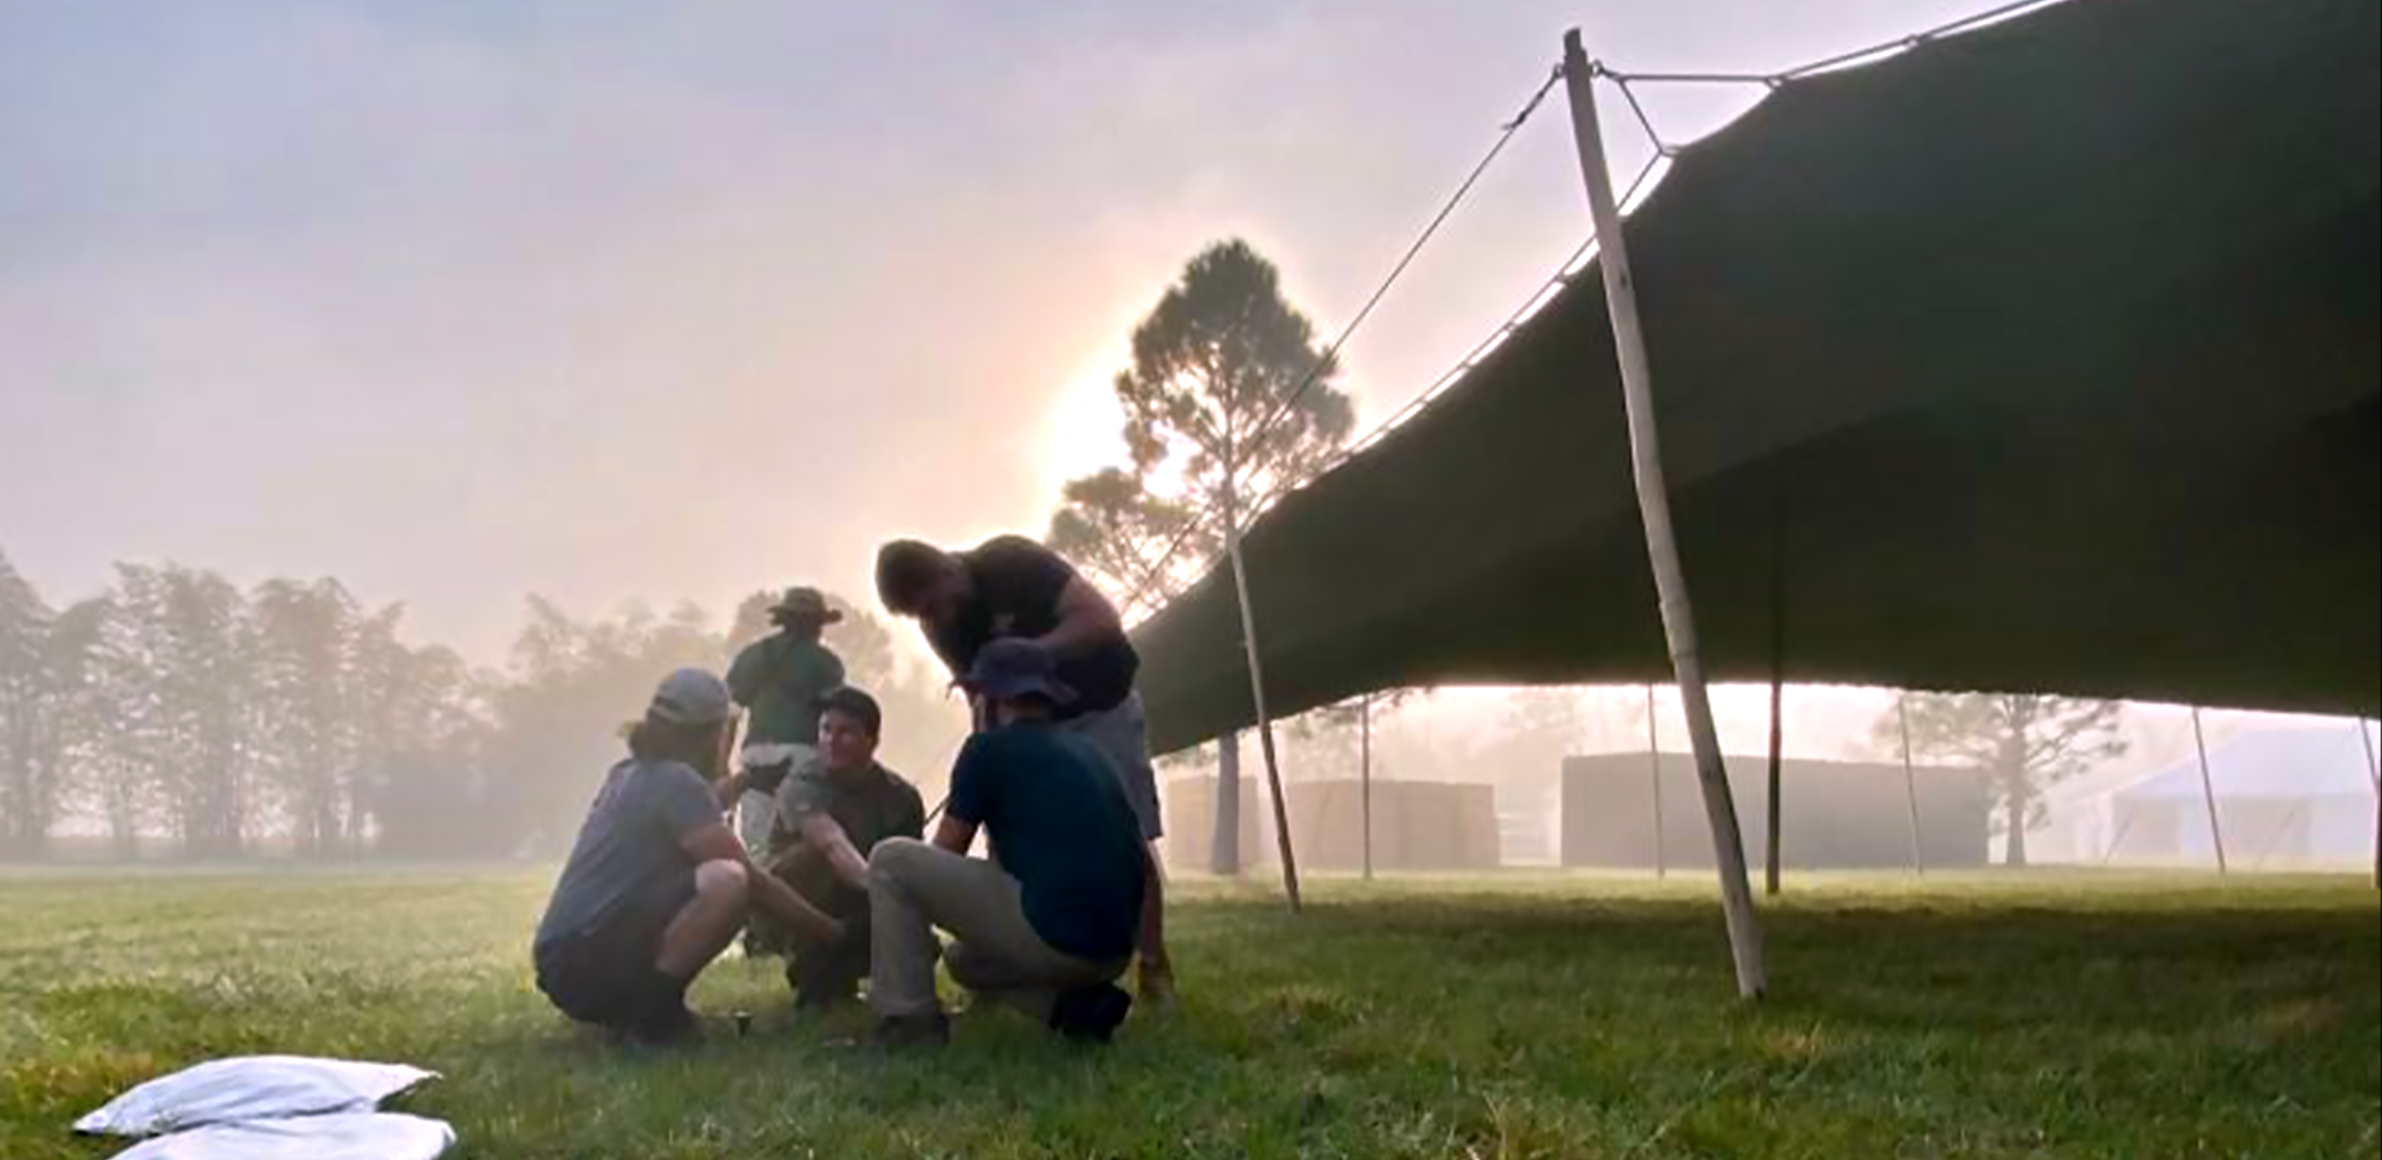
A large stretch tent can take 4–8 hours to install and 2–4 hours to break down. Factor this into your venue hire window. Confirm with your supplier exactly when they need access, as arriving to find crew still setting up is not a good start.
Don't wait until a week before your event to start the conversation with your supplier. The best rental companies are booked out 2–3 months ahead during peak season, and a rushed quote often means a compromised setup plan.
Rental packages vary between suppliers. Here's a general breakdown of what's usually covered, and what you'll typically need to source separately or add as extras:
Always request a fully itemised quote that specifies exactly what is and isn't included. Hidden extras, like after-hours installation fees, fuel surcharges, or late-return penalties, can add significantly to the total cost.
Anchoring is the most technically important part of a stretch tent installation. Get it wrong and you have a safety hazard; get it right and the tent performs flawlessly in all conditions.
The most straightforward surface to work with. Heavy-duty steel ground stakes (typically 600–900mm long) are driven at intervals around the tent perimeter. In very soft or waterlogged ground, longer stakes or corkscrew anchors may be needed.
On hard surfaces, weight bags filled with water or sand are placed around the perimeter and connected to the tent edges via tensioning straps. Alternatively, concrete anchors can be drilled and fitted, but this is usually only done for semi-permanent or long-term installations.
Sloped or mixed-surface venues require a hybrid approach. Your supplier should assess the site before the installation date and prepare the appropriate anchoring kit. Never assume a standard setup will work, as slopes can significantly increase wind load on one side of the tent.
This is the area most first-time renters overlook, and it's one that can cause real headaches if left too late. Permit requirements vary by location, venue type, and tent size. Here's what to be aware of:
Ask your rental supplier if they have experience with your specific council or venue. A good supplier will have navigated these approvals many times before and can often advise on the fastest path to approval.
A professional rental company should be able to answer all of these confidently. If they can't, consider it a red flag.
A smooth installation day requires coordination between you, your venue, and your supplier. Here's a typical timeline for a medium-to-large tent installation:
Most rental agreements require the venue to be cleared and the tent removed within 24–48 hours of the event ending. Plan your post-event schedule around this window, as caterers, lighting companies, and flooring crews all need to clear out before the tent can come down.
Do a walk-through with the installation crew before they leave to document the condition of the tent and any site markings. This protects both you and the supplier from disputes over damage or missing equipment.
Renting a stretch tent is one of the best decisions you can make for an outdoor event. The right tent transforms a field into an experience. But like all event infrastructure, it rewards preparation. Get your sizing right, choose a reputable supplier, sort permits early, and communicate clearly about access and logistics. Do those things, and the rest flows naturally.
If you're ready to start planning, browse our range of stretch tent options or reach out for a free consultation and site assessment.
Get in touch with our team and let's create something extraordinary together.